Saw Till - Carcase Dovetail and more

Saw Till Dovetail Closeup

Saw Till Side with Router plane
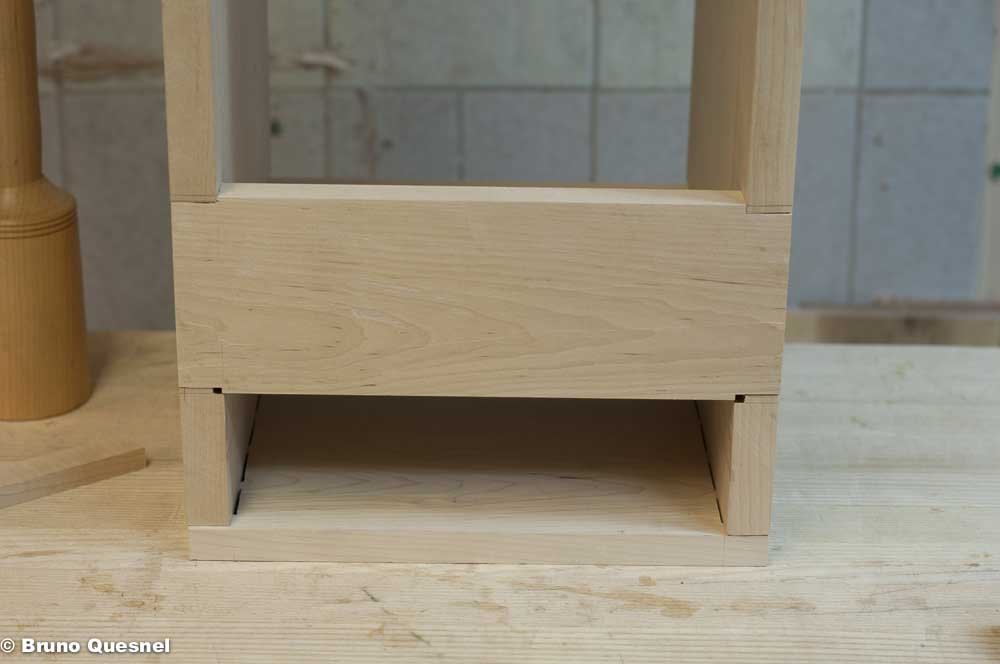
Saw Till Bottom
Now that most of the parts are cut to rough dimensions, it was time to tackle the Carcase Dovetail. Build out the shell of the till itself to at least have a frame of reference to be able to tackle the rest of the internal parts. The lumber I had for the side, bottom and shelf did not quite fit the width that the construction suggested. I did chose to build with the same base dimensions as described in the plan done by Shannon @ the Hand tool School.
I started to fit the bottom with dovetail on both sides, oriented so that the wedging action does it's job for this case action. There were also the top member that is also done with a single dovetail to keep both side members from spreading at the top. I then fitted the necessary for the shelf, which delimits the top of the drawer and serves as the bottom to sit part of the saws that will be in the till. Then came to fit in the front member that will hide the front part of the shelf and also serve to sit a portion of the saw handles (at least for the longer saws).
At this point, the saw till carcase is assembled and holding by itself and is pretty solid. Yes the dovetail have gas, but any occasion I have to practice by hand, I will take.The back is still to be done and should add some stiffness to the carcass and hanging support to the wall.For the internals, I taught of a few scenarios